Insulating Above a Slab

Insulating your basement floor provides added comfort and increased energy efficiency. When you insulate above your slab, the floor becomes noticeably warmer, making it a comfortable, more enjoyable living space that you can heat and cool for less.
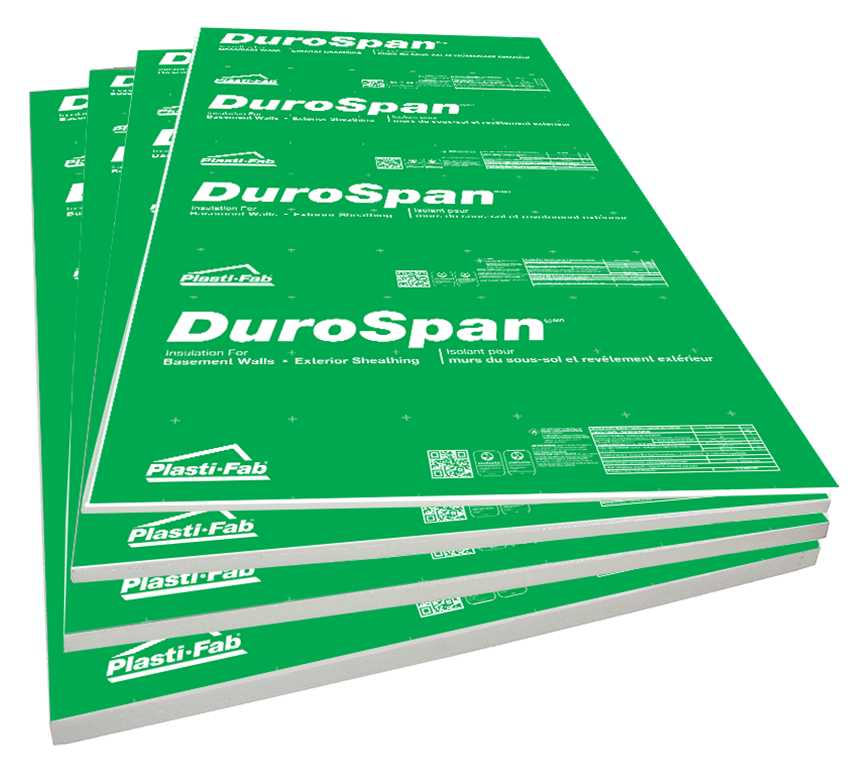
Plasti-Fab’s code-listed EPS insulation is available in a variety of thicknesses to provide R-values to meet your desired energy efficiency. Insulating above a slab can be done during new construction or as a renovation project.
With the dependable distribution network of Plasti-Fab EPS insulation products and technical expertise readily available, insulating above a slab is a simple, cost-effective solution that provides long term benefits. The lightweight nature of EPS makes it easy to cut and install. Check out the Installation Instructions tab for a step by step guide to installing Plasti-Fab’s EPS insulation above your slab.
PIB 249 - DuroFoam Insulation for Basement Applications
PIB 251 - DuroFoam Plus Insulation Used In Radiant Floor Heating Systems
PIB 275 - NBC 2010 - DuroFoam Insulation for Interior Basement Applications
PIB 284 - NBC 2010 - PlastiSpan Insulation for Interior Basement Applications
PIB 286 - PlastiSpan HD Insulation for Interior Basement Applications
PIB 317 - 2012 BCBC - PlastiSpan Insulation for Interior Basement Applications
PIB 329 - 2012 BCBC - PlastiSpan HD Insulation for Interior Basement Applications


1. Follow the Building Code
Be sure to follow the building code requirements applicable in your region.
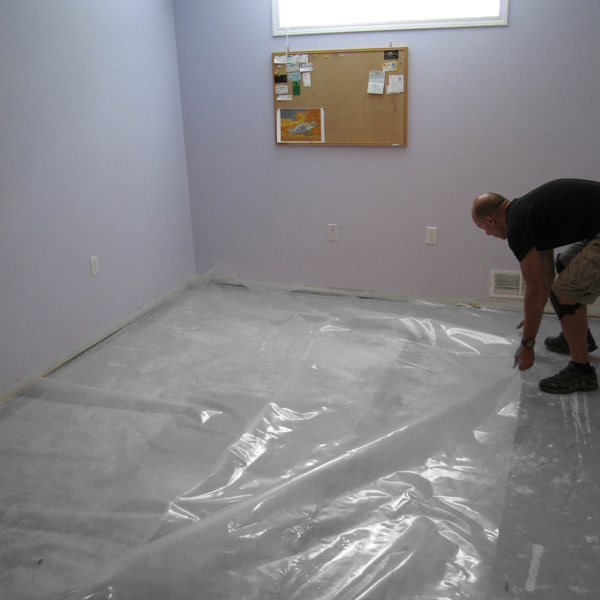
2. Install a Moisture Barrier
Cover the entire floor area with a 6-mil polyethylene moisture barrier to eliminate moisture migration into your living area.
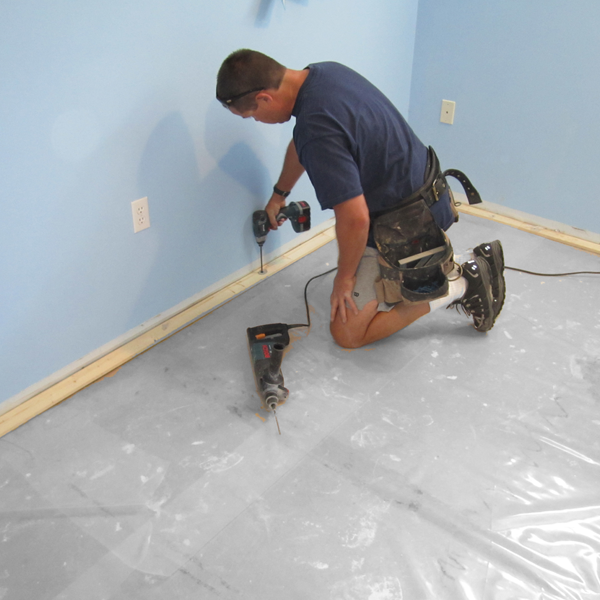
3. Attach Perimeter Nailers
Attach nailer with the same thickness as the insulation, around the perimeter, using self-tapping concrete screws penetrating the concrete floor as recommended by the screw manufacturer.
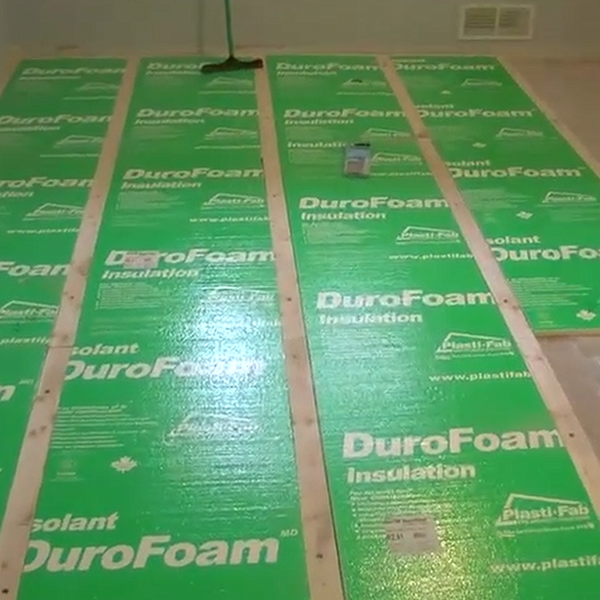
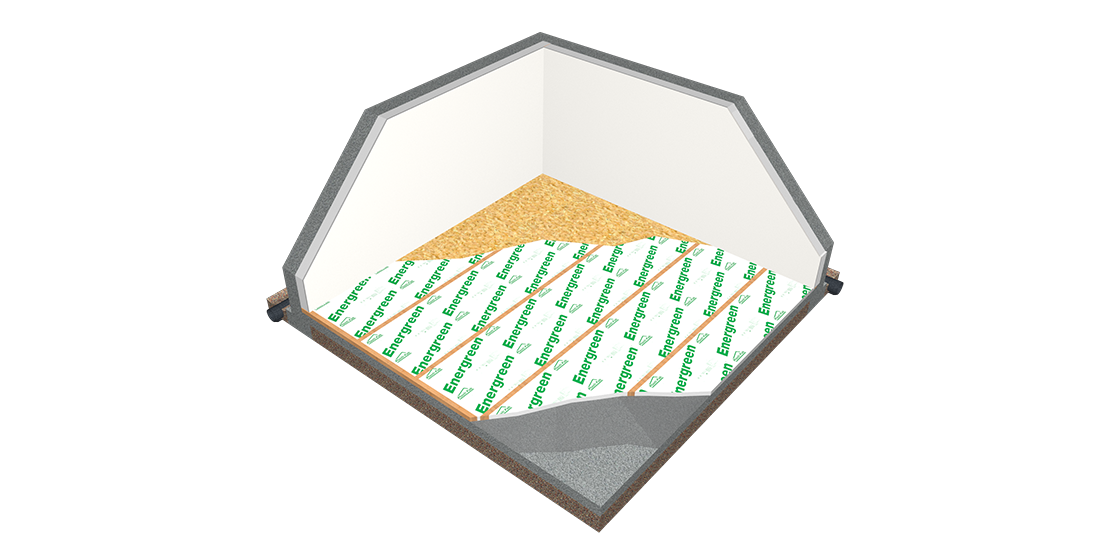
4. Install Nailers and Insulation
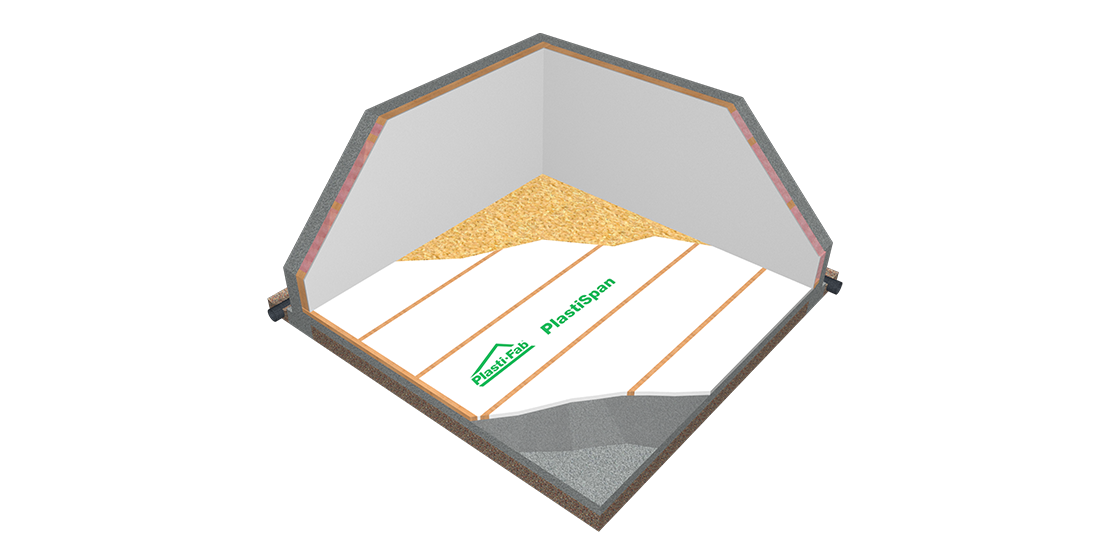
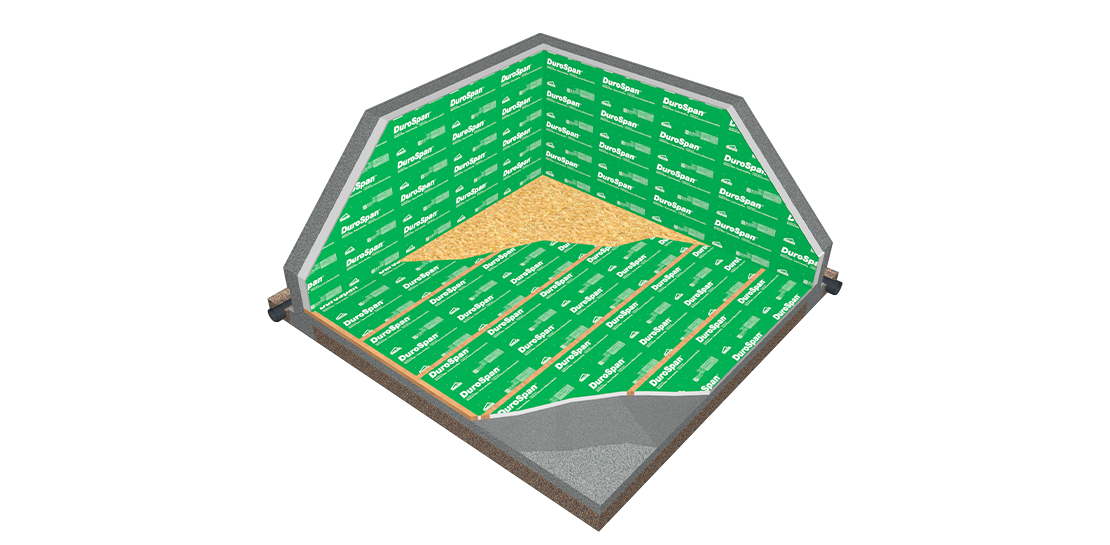
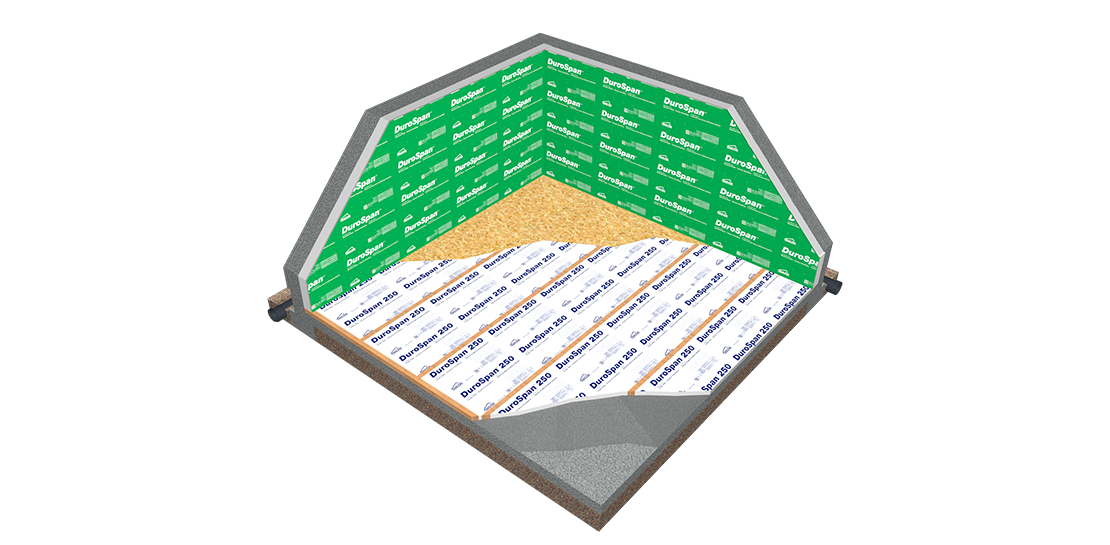
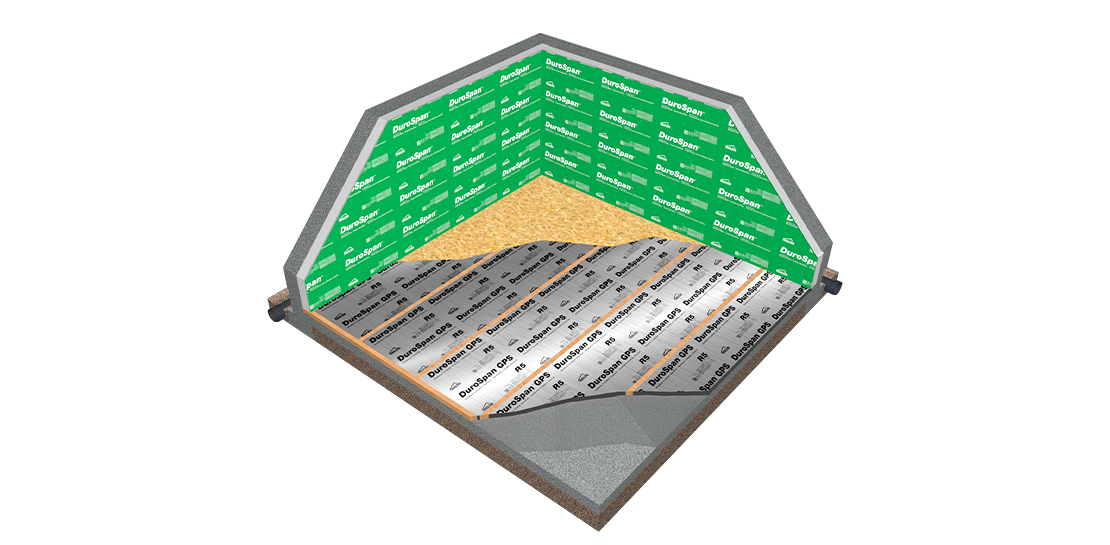
Cut the first row of insulation to a 21-3/4" width. Cut subsequent rows to 22-1/2" widths. Use the insulation cut as guides to place successive rows of nailers at 24" on centres. Install insulation with the green side facing up.
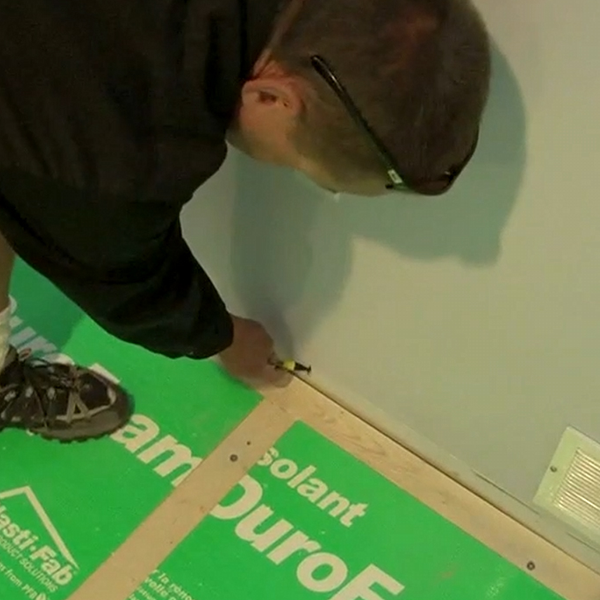
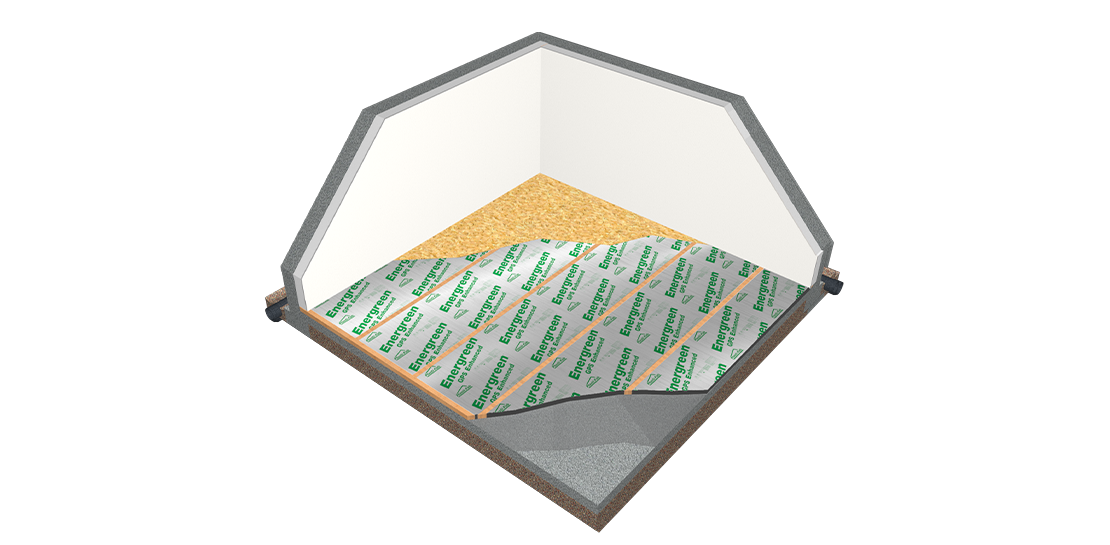
5. Prepare to Lay Sub-Floor
Mark the walls where the nailer centres intersect it to help locate the nailers when attaching the sub-floor. The sub-floor thickness should be 5/8". Snap chalk lines across the nailers to ensure the sub floor material is placed squarely.
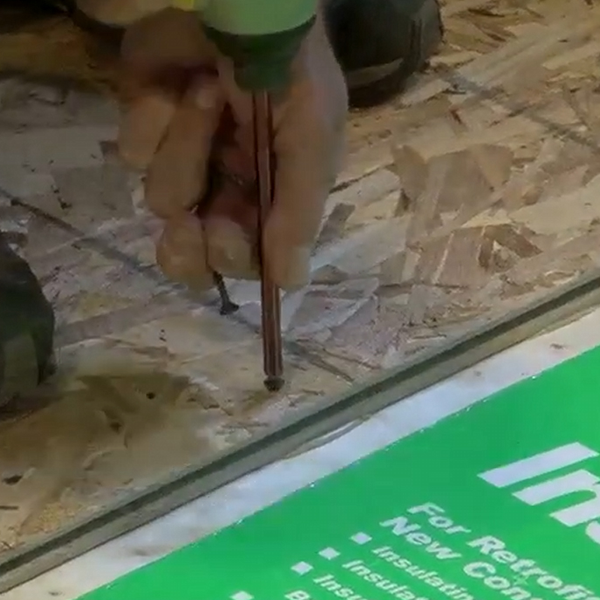
6. Secure the Sub-Floor
Be sure to stagger the floor sheathing joints for extra stability. Apply adhesive to the nailers. Fasten the 5/8" floor sheathing directly to the nailers using either ringed nails or deck screws every 8". With an air nailer, use 2-inch ringed floor sheathing or screw nails. With a screw gun, use 1-1/2" or 1-3/4" deck screws.
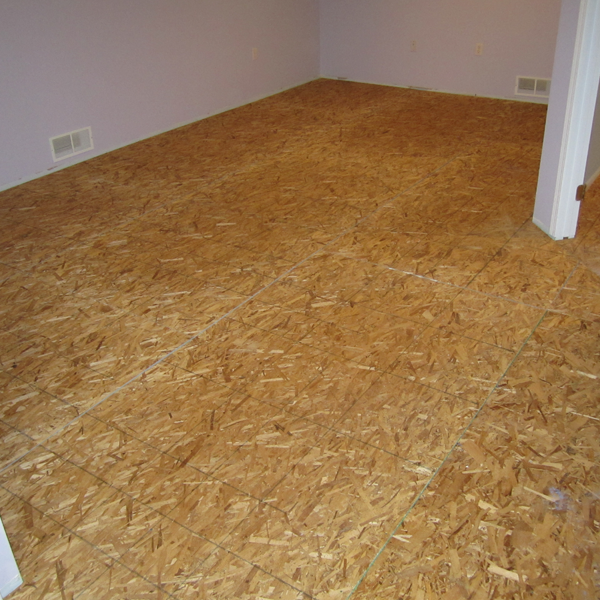
7. Ready for Floor Finishing
Your basement floor is now correctly insulated and ready for your final decorating touch. You should notice the finished floor is now much more comfortable.

